Monday, February 29, 2016

Lessons Learned when Taking Things Apart

Break-Make sessions have been wildly popular here at the Museum. We've run them twice now and I have learned a few lessons.

This combination of mechanics and
circuitboard made for some good learning.
Lesson 1: Finding the Appliances

We "broke" old toys, a toaster, blender, hair dryer, answering machine, CD player, and coffee maker.
The first time we ran the session, I went to a local recylcling store and found a variety of small appliances that I knew would have something motorized in them. Old CD/Tape decks have pulleys in them, for instance.  I avoided anything with glass. No computers. No microwaves. The lower-tech the better.


Wow did the goop in this handmixer STINK
The second time we ran the session, we asked for donations. That was a big mistake as we received all sorts of small appliances that we really couldn't use. I had to take a carload off to the dump. During that session, one student took apart a hand-mixer. It was full of interesting gearing, but wow did it SMELL. There was old food stuck way up in the mixer. I will hesitate to use one again.

Lesson 2: Safety

The kids weren't wearing safety glasses. While nothing did fly about, I would make them wear safety glasses next time.   I will also cut the power cords so the kids don't try plugging in the appliances. Nobody tried, but who wants to have a first time on this?

We should have had safety glasses.

Lesson 3: Having a purpose for taking apart

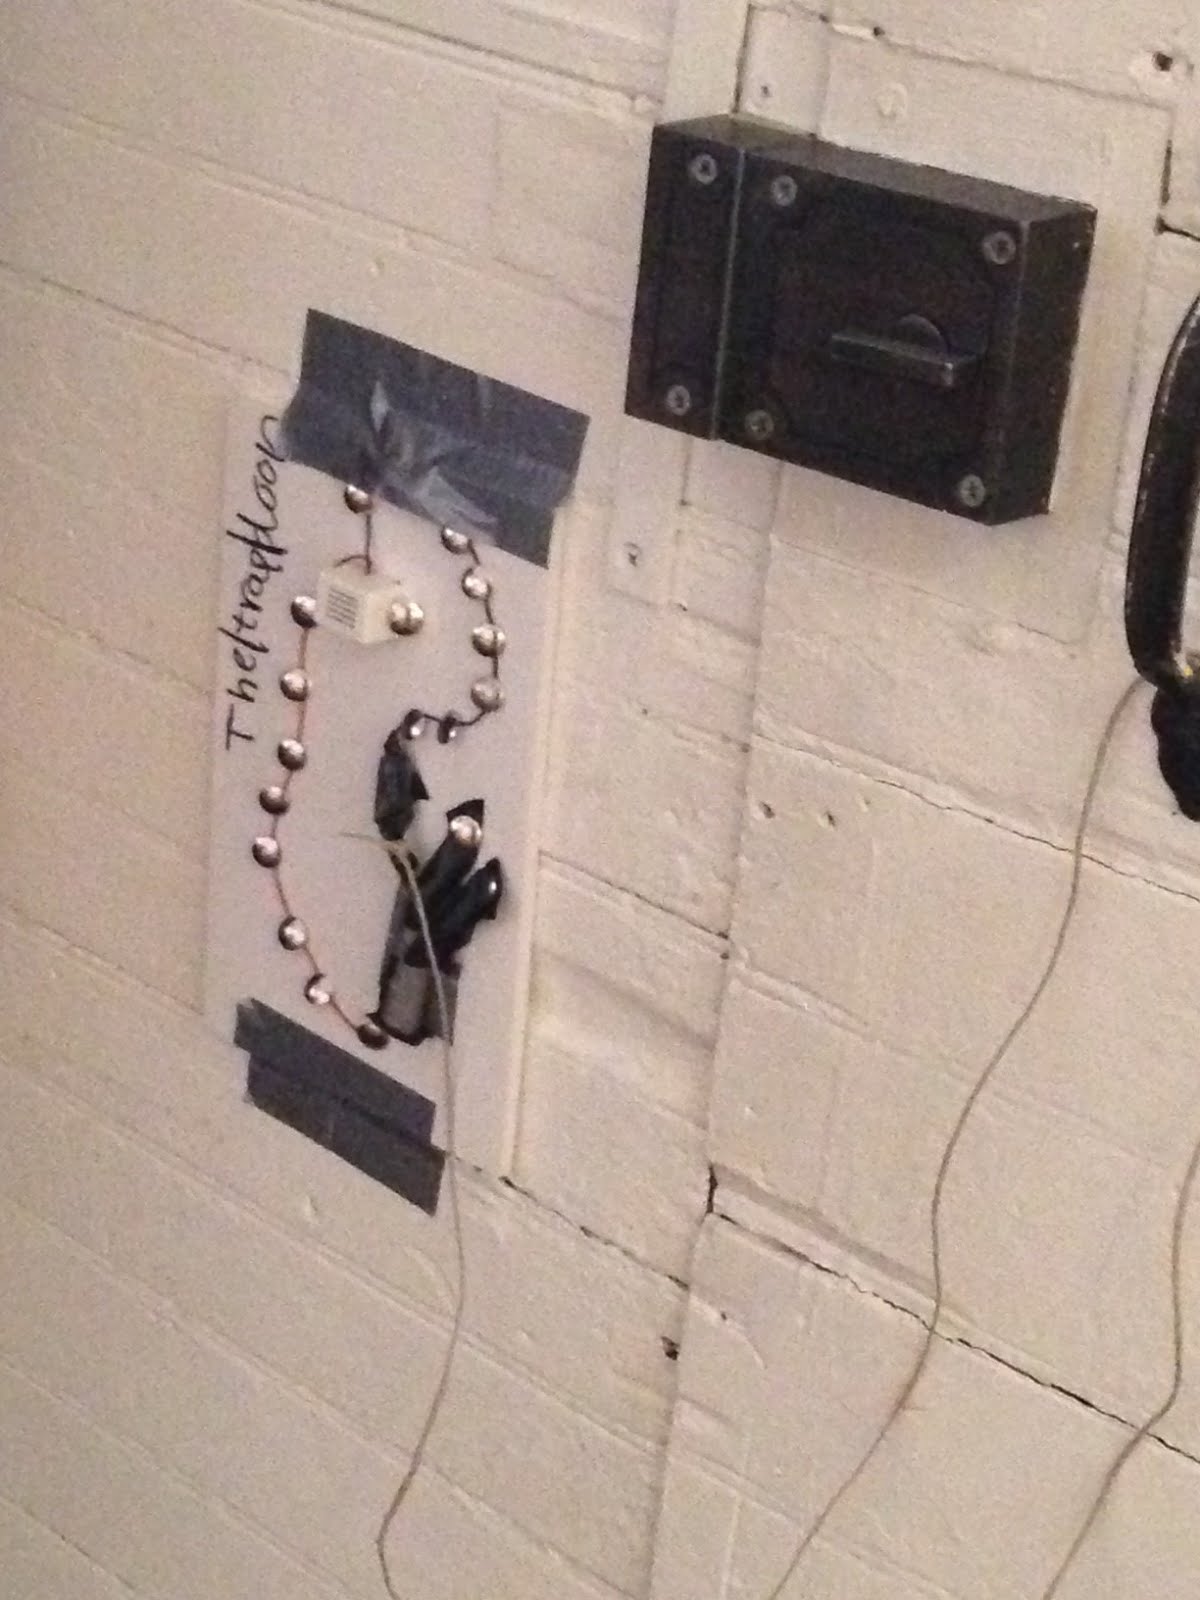
At our first break-make series, we all came back together to make something new from what we had taken apart. I had stickers, markers, pipe cleaners, lots of washers/screws/metal gizmos, and the all-important glue gun available.  These two girls ended up making a robot out of parts from the boombox they had dismantled.

These girls enjoyed the artistic portion of the program.

At our second series, I put out images from the calendar published to accompany the Smithsonian's exhibition, Things Come Apart. I suggested that we take apart our appliances with the goal of figuring out what all the components were and how they went together. This session was a more thoughtful session and we ended up with some cool photographs.
Here is the display created by one participant.


Tuesday, February 16, 2016

Learning to Code on Mobile Devices

This week as part of my Marlboro College "Creating with Code" course, we were asked to try some apps for kids.  I tried Scratch Jr and Lightbot Hour to get a feel for how these worked on my ipad.

Lightbot Hour was a series of ever more complicated puzzles that challenged me to think through the challenges using events, sequencing, and conditionals.  I liked it (although I confess, I didn't get up to the really challenging levels) because there it was a game with specific puzzles to figure out. I also liked it because is forced me to constantly stop, test, and make things work.  I was easily able to stop and figure out where I went wrong and to test and debug.  I don't play any computer games, but this approach was one I enjoyed. I think having an endgoal and iterative puzzles that built up one step at a time was what kept me so engaged.


I then moved on to Scratch Jr.  In this app, the user has the opportunity to really move through the design process.  I have experimented with Scratch which really helped me to know what to do. I imagine kids would be more intuitive with this than I was.  For me, having a Scratch curriculum available with activities to help kids who need a start would be important.  I have watched kids freeze when asked to come up with a creative story or design --I wish it weren't the case for sure-- so helping them have a place to start would be important.  

Monday, February 15, 2016

Risk


Tinkering is about risk.  I have seen this over and over again in the learning lab.  There are always one or two kids who sit and wait to be told what to do. They are tentative and wait for instruction. If, by the end of the session, they are surrounded by a mess created from trial and error, I know I have done my job.

I first noticed this when we began to design our alarm systems. One little boy sat quietly looking at the table until I asked him what was up. He replied that he had been waiting to be told what to do. Slowly, he began to engage in the process until he relaxed and dove in.


This is the beauty of holding tinkering sessions at the Museum. Kids are free from being assessed. They can explore. They can try out their ideas without worrying that they might be wrong. It's what I like best about museum education.


Monday, February 8, 2016

An Alarming Discovery

My dog, Odin, is constantly getting into things he shouldn't. It's a real problem at our house. I asked our after school tinkering kids if they thought we might be able to design an alarm system to solve my problem. Of course, they were intrigued.  We dug right in, reminding ourselves of all we now knew about circuits.

First we designed our systems. Graph paper and clipboards make the entire design process much more official.


Then we all set to work:


We made some prototypes:


We tested our ideas...


....and finally, trapped the parents as they opened the door at pickup time.


We also made more videos explaining how our systems worked.  This was the culmination of our three-series after school tinkering program focused on circuitry. We began by learning about circuits, we designed and made bristle bots, and finally designed an alarm system to solve a problem. By the end of our series, the kids were completing the entire NGSS engineering cycle.  

In case your curious...my dog is still getting in to trouble.

Materials:

Old foam core museum labels
Wire
Batteries
Conductive materials including foil, tacks, binder clips
Electrical tape, duct tape
Wire cutters & strippers
Scissors
Markers


Thursday, February 4, 2016

What coding can teach

These days I am thinking a lot about coding. I'm trying to gain an understanding of how kids learn to code, why they might want to learn, and how coding fits with our Learning Lab goals. As I said in a previous post, The Thinking behind the Tinkering, we want a learning environment where kids have the freedom to innovate. We want them to learn by doing and we want them to enter into a pattern of thinking, making, and improving.  Seymour Papert's insights into how children learn and work with computers is convincing me that coding could fit into the learning lab. Here are some quotes that connect his ideas to our goals:

"In my vision, the child programs the computer and, in doing so, both acquires a sense of mastery over a piece of the most modern and powerful technology and establishes an intimate contact with some of the deepest ideas from science, from mathematics, and from the art of intellectual model building". Mindstorms, 5

"When you learn to program a computer you almost never get it right the first time. Learning to be a master programmer is learning to become highly skilled at isolating and correcting “bugs” the parts that keep the program from working. The question is not whether it is right or wrong, but if it is fixable." Mindstorms, 23

"In deliberately learning to imitate mechanical thinking, the learner becomes able to articulate what mechanical thinking is and what it is not." Mindstorms, 27


Monday, February 1, 2016

Our first MAKE session: Bots


After learning about circuits, we moved on to making bristle bots.  I purchased a small kit from MakerShed, but quickly realized that this was an expensive approach to working with a group. The kit also felt too prescribed.  A goal of our sessions was to have kids innovate--I needed something a little more open-ended.

After buying one of every electric toothbrush at the dollar store, I found a brand where the motor had enough of a lead that we wouldn't need to do any soldering to attach a battery. The kids now had a challenge to turn a toothbrush into a bot.  They had a blast and I had a blast watching them as they investigated > designed > troubleshooted > and re-designed.


Materials:

Electric Toothbrushes, scrub brushes
Electrical tape
Wire
Wire cutters & strippers
Decorative items such as pipe cleaners and stickers.