Monday, March 28, 2016

Lessons while Soldering


We recently purchased soldering irons for use in the Learning Lab. These Weller soldering irons have proven to work well. They have temperature controls and include a stand and sponge. This support proved to be important for our students who were at times struggling with fine motor skills on this project. In fact, after watching one student do well with a soldering stand, I purchased several more for our second session. We also had wire cutters available.


Again our teen volunteers proved to be very helpful.  Not only did one of them lead the students through the assembly of this WeevilEye kit, but they also were incredibly helpful with the students who needed help following directions and support with fine motor skills. Almost all of these grade 4 - 6 students were able to solder together the kit successfully.


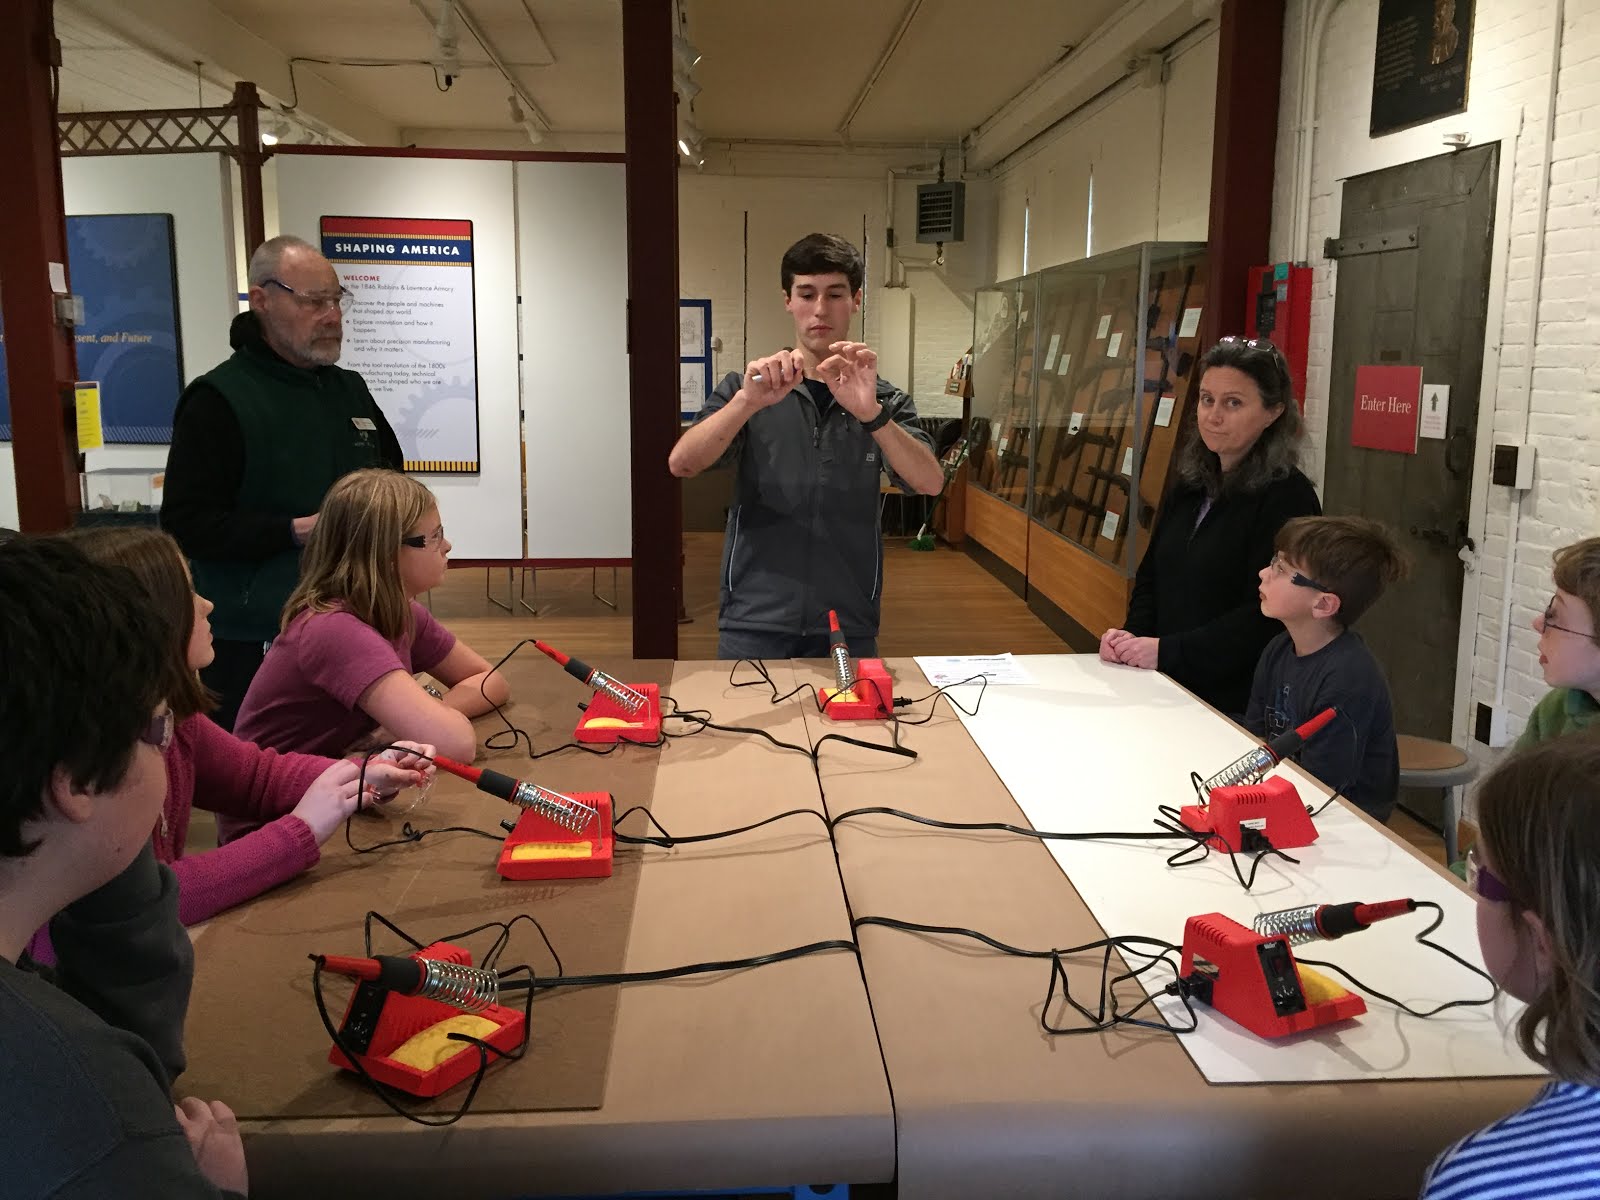
We set up the stations with a piece of masonite over the table to protect it from burns. The cords went down between the two tables and connected to power strips underneath.  We had the power strips turned off until after we had gone over safety rules, had a demonstration, and were ready to start. Of course we all had safety glasses and I had made sure that we had ice on hand and that the first aid kit was stocked with neosporin. Happily there were no incidents.

At first I had mixed feelings about this program which was basically soldering a circuit board and assembling a kit.  The underlying purpose of the Learning Lab is to foster innovation and provide space for open-ended learning and problem-solving.  In fact, a colleague came up to me while the workshop was going on and said "wow, they are learning so much."  My immediate reaction was negative. I was frustrated that the students were just following directions and not really THINKING.

Here is a student using a "solder sucker" to repair her soldering.
But then I thought about it some more. Of course, they were learning soldering skills which could be applied to other more open-ended projects in the future.  But they were learning more. They were learning about being precise and about what happens when you don't do something perfectly. They had to fix their mistakes or the circuit wouldn't work. That's what this museum is all about--so we were learning about precision here at the American Precision Museum.

I also realized that they were learning about collaboration and helping each other. Of course, some students finished before others.  I encouraged them to lend a helping hand and was happy to see this helper step up to the plate. We are trying to foster leadership here as well--someday our teens will graduate and we will need new students to step in.


In the end, this soldering class gave me lots to think about. It made me reaffirm the pedagogical underpinnings to our work and helped me broaden my own thinking about what the kids are learning and how we achieve our goals.


Monday, March 21, 2016

Furnishing the Learning Lab


After a winter of tinkering, we received funding from the Alma Gibbs Donchian Foundation and the Hypertherm Hope Foundation to formally install a learning lab. I now knew how we could manage groups, mess, noise, and the general public all within our front lobby.  I was most interested in making a flexible space so we purchased workbenches with adjustable heights, shelves, and castors. We replaced the industrial castors with smaller wheels to lower the height for students. 

Here the tables are pushed together so we can all work as one group.
We can pull them apart when there is a large crowd.
Lab stools at 24" height have worked well not only for students, but for general visitors who have been known to carry them around the exhibit hall.

Young and old alike are using our lab stools.
We have space challenges at the museum. Our Learning Lab is right in our lobby and the general public passes right by throughout the summer. I installed this shelving so visitors could see the projects we work on throughout the year.

This shelf is used to display prototypes and projects
Car prototypes: balloon cars and mousetrap cars
I want the students to feel comfortable in the space and to begin to feel like it is their space. These photos, clipped on to wire, show pictures of students and their projects. The kids like to look at them.

Of course we have photo release forms for all the kids.


We continue to develop the space. We need storage and a half-wall to help define the space a bit more in the summer. Rather than purchase storage units, I asked the local tech teacher if his students would like to design and build for us. Here's their first stab at design using SketchUp. It is turning in to a great design and community service project for them.


Monday, March 7, 2016

Tinkering with Magnets

They also experimented with pendulums and "magic wands."


Our four-session magnetism series began by just letting students play with magnets. Ideas for this program came from Tinkering: Kids Learn by Making Stuff.  First we just explored how magnets worked.


I had thought we would experiment with magnetic slime during this session. I made it at home first (always a good plan) and it was a messy disaster. I decided that we did not have the facilities at the museum for this project.

To prepare for this session I cut small blocks of wood at home and pre-drilled holes for straws and dowels. Other materials for this session included duct tape, tongue depressors, string, and scissors. My tub of arts and crafts supplies was also available.

The kids stacked ceramic donut
magnets to make them "float."
After some directed experiments, the tinkering began as they built various contraptions. This photo below captures the spirit of tinkering. Lots of duct tape and trial and error to create something incredible of his own design.


My goals for this first session on magnetism were to have the kids explore how magnets work and to loosen up and begin to tinker without direction. I was pleased with the mess by the end of the afternoon!

We began our second session by making our own compasses. I used these instructions.